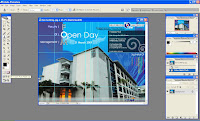
I click from 1 point to another point until it reached at the 1st point. After that I click path, make selection, Select to save selection, and named it as “fom building”.
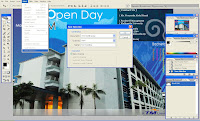
After finished the save selection, I click “edit in standard mode” then Select to load selection. Now I have new layer.
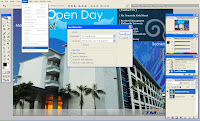
Next step is I click File , Open, I choose the background. To edit the colors , click image – adjustment – color balance .
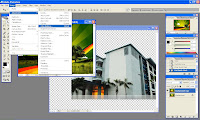
After finished editing the background, I drag the pictures to my cropped building as shown in the pictures below. To resize the picture, I click edit – free transform.
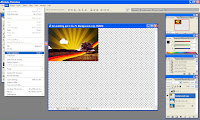
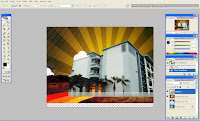
Next step is I use blending, “soft light”. U can see it in the picture. After that I click Filter –artistic- color pencil then I choose poster edges for my background. Same goes to my building. But I choose watercolor.
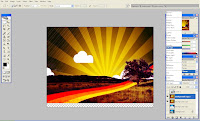
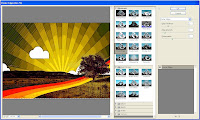
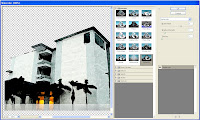
I added “OPEN DAY”. I used magic eraser. This is the result after using magic eraser. Then I added some cartoons images.
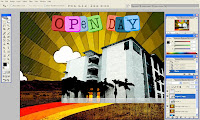
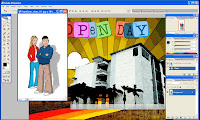
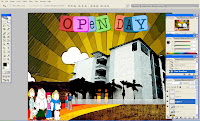
I added shadow below the "Open Day" . For the F O M sign, I crop letter by letter “F” “O” “M” and the result is shown in the picture :D
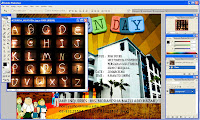
THIS IS MY FINAL RESULT. Tadaaaaaaaaaaaaa ~~

OMG~ IM SO TIRED DOING THIS WORK. BUT I HAD FUN AND NOW I KNOW BASIC OF USING THE ADOBE PHOTOSHOP ! AHAHAHAHA <3
No comments:
Post a Comment